
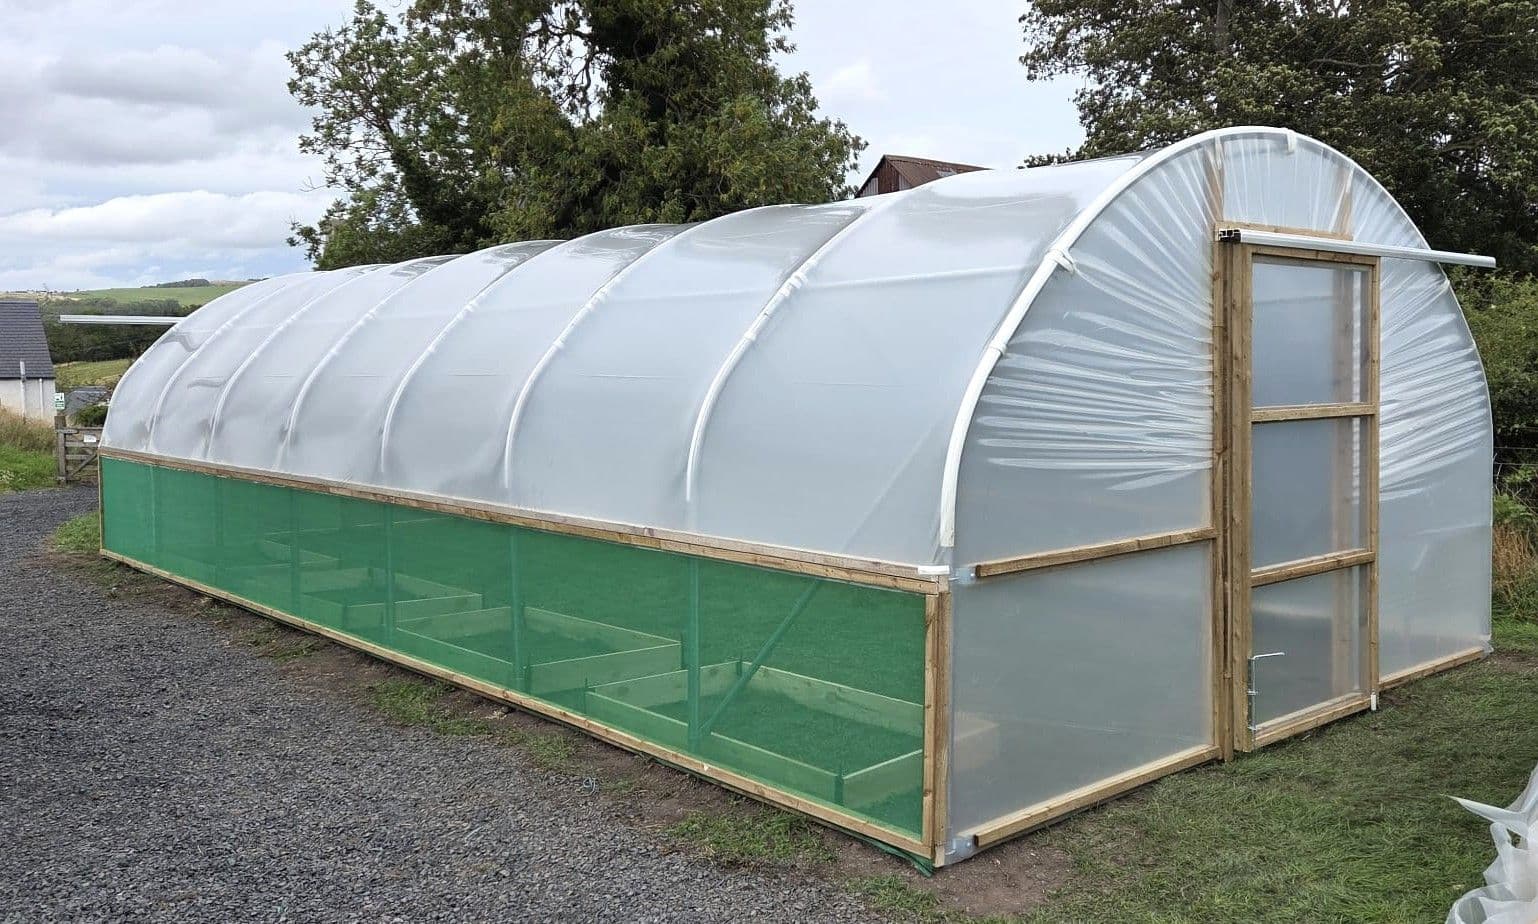
Is it worth buying a polytunnel? Yields, season extension and real costs explained
Autumn storms are on the horizon, and with them come the questions every grower asks. Will wind, rain and cold undo months of work? Can you keep salad, brassicas and herbs productive into winter, and start earlier next spring?
A well-specified polytunnel gives you control. It extends the season, reduces weather losses, and protects crops from birds and pests. The right cover, frame and layout can turn a mixed year into a reliable one.
This guide sets out the practical ROI for hobbyists through to small commercial growers, compares buying versus DIY builds, explains cover technology, and outlines typical budgets and ongoing costs so you can choose with confidence.
What a polytunnel changes for your growing
- Earlier sowings and later harvests: A covered, sheltered microclimate warms soil sooner and protects it longer. Many growers start salads, beetroot and early potatoes weeks ahead, then keep winter greens ticking over after first frosts.
- Reduced weather losses: Strong frames and diffused covers buffer wind, heavy rain and cold snaps. That stability often means better fruit set and fewer setbacks.
- Better quality and consistency: Diffused light penetrates the canopy, reducing scorch and helping lower leaves. Consistency helps with planning and small-scale sales.
- Pest and bird protection: Pair a tunnel with a walk-in fruit cage or netting for soft fruit, brassicas and strawberries. Netting stops pigeons and butterflies, while insect mesh on vents limits whitefly and aphids.
If you are limited on space or on an allotment, a compact polytunnel for allotment plots or a mini polytunnel over beds can still deliver earlier crops and protection when storms hit.
Buying versus building your own
You can build your own from tubing and film, or buy a purpose-designed kit. The difference shows up in time, hidden costs and durability.
Buying a kit
- What you get: Matched steelwork, ground or foundation tubes, doors, timber end frames, timber base rails, crop and ridge bars, anti hot spot tape, and a 200 micron diffused SuperTherm cover with a 7 year guarantee on many kits.
- Advantages: Faster build, known wind performance, parts that fit, clear instructions, after-sales support and warranty. Highland Super Strength Garden Polytunnels are engineered for exposed UK sites and assessed in the Highlands and Islands of Scotland.
- Hidden wins: Correct hoop spacing and bracing, better door seals, and proven cover tensioning reduce flapping and wear.
DIY build
- What it looks like: Sourcing galvanised tube, bending hoops, buying polythene sheeting for polytunnels, timber, fixings, and tapes. Then designing doors, bracing and foundations.
- True costs: Tools, mistakes, extra trips for missing parts, and cover wastage. Time is the big cost. If wind performance matters, upgrading steel gauge and bracing often narrows the price gap with a kit.
- Risk: Unknown wind behaviour and shorter cover life without anti hot spot tape and correct fixings.
If you prefer to self-build but want the right components, you can still save time by using a build your own polytunnel guide and matched parts.
Cover technology that pays its way
A quality cover does more than keep rain off. Diffused 200 micron SuperTherm film spreads light evenly, improves penetration to lower leaves, reduces scorch, and helps stabilise temperatures. That typically means steadier growth and fewer quality losses in bright spells. The 7 year guarantee on SuperTherm covers gives a clear window for budgeting replacement cycles.
Anti hot spot tape protects the cover wherever it touches steel, reducing friction and heat transfer. It is a small cost that can add meaningful life to the film.
Wind performance, frames and when to choose Super Strength
Standard garden tunnels built from 25 mm or 35 mm galvanised steel are suitable for most sheltered to moderate plots. On coastal, upland or highly exposed sites, step up to heavier-gauge steel, closer hoop spacing and extra bracing.
Highland Super Strength Garden Polytunnels use 50 mm high-tensile steel, include full crop bars and three ridge bars, and are supplied with timber base rails and sliding timber doors. They are assessed in harsh UK conditions and offer a dependable option where wind is the main threat. In extreme exposure, concreting the foundation tubes can add further stability.
Real costs and ongoing upkeep
Initial purchase
- Domestic polytunnels: typical kits for gardens and allotments start in the mid-hundreds to low thousands depending on width and length.
- Commercial polytunnels: larger spans and lengths scale up accordingly. Wider commercial frames arrive on pallets and require suitable offload help.
Ongoing costs
- Replacement covers: budget for a new 200 micron cover when the warranty horizon approaches; actual life varies by site, exposure and care.
- Tapes and sundries: anti hot spot and repair tapes, door furniture, and occasional fixings.
- Irrigation: drip, soaker or overhead systems save water and time, and help maintain quality in hot spells.
- Maintenance time: seasonal checks on tension, door runners, base rails and any wear points. Quick repairs prevent bigger issues.
Mini budget planner for a first tunnel
Use this as a planning prompt rather than a quote, as sizes and exposure vary.
- Frame and cover kit: choose the gauge and width for your site and plan the length to fit your beds and paths.
- Foundations: ground or foundation tubes for soil, or base plates for timber or concrete bases. Concreting increases stability in windy locations.
- Doors and ventilation: sliding timber doors are robust; consider side rails with roll-up screens on larger or warmer sites.
- Protection add-ons: fruit cage or netting for soft fruit and brassicas; windbreak netting if you have a prevailing gusty corridor.
- Watering: a simple drip or overhead kit with a pressure regulator and hose connector streamlines routines.
- Delivery: many orders over £100 qualify for free UK mainland delivery, which can make a noticeable difference on a full kit.
Choosing size, layout and when to add irrigation or staging
Plan beds, paths and working areas before you buy. A central path with side beds is easy to maintain. Crop bars support vertical lines for tomatoes and cucumbers, and can carry overhead irrigation neatly below the ridge. Add staging or a folding potting table at one end if you raise seedlings or want a dry work area. Install irrigation from day one if you are time-pressed, manage multiple beds, or need consistent moisture for quality. Add it later if you are still learning the tunnel’s microclimate.
For small spaces and allotments, a 6 ft to 10 ft width is practical and encourages good airflow. On exposed sites or where wind is a worry, prioritise a stronger frame over extra length.
Fruit cages, netting and pest control
A dedicated fruit cage or netted zone complements a tunnel by protecting soft fruit and brassicas outdoors. Rigid side netting with the right mesh size stops birds and butterflies while maintaining airflow. On tunnels, insect mesh on vents and doors plus neat sealing reduces pest ingress without stifling ventilation.
Quick answers to common questions
- Is it worth buying a polytunnel? Yes, for most UK growers the season extension, reduced weather losses, and steadier quality make a strong case. The benefit is greatest on exposed or rainfall-heavy sites and for anyone selling even small volumes.
- How much does it cost to build a polytunnel? DIY costs vary widely once you include tools, fixings, tapes, doors and cover wastage. A matched kit typically delivers better long-term value thanks to correct steel gauge, bracing, proven cover, and warranty.
- Can I make my own polytunnel? You can, but factor in time, wind-load design, and access to parts. Many growers self-install a quality kit to balance cost with durability.
- Are poly tunnels worth the money? For earlier sowings, reliable harvest windows and protection from storms, most growers find they are. Choose the right gauge and cover for your site to unlock the value.
- How long do polytunnels last? Frames last many years with basic care. Quality 200 micron diffused covers often reach their 7 year guarantee window, with actual life varying by exposure and maintenance.
Helpful resources and next steps
- Explore domestic options and sizes that suit gardens and allotments in the domestic polytunnels range.
- Compare commercial-grade structures and delivery options in commercial polytunnels if you are scaling up.
- Plan your interior with practical polytunnel ideas and layout guidance, from paths to crop bars and airflow.
- Budget for upkeep and see current pricing for a replacement polytunnel cover when you plan total cost of ownership.
Summary
A polytunnel earns its keep by stabilising your growing year. Earlier starts, later finishes, fewer weather losses and better quality add up, especially as storms become more frequent. Choose a frame matched to your exposure, invest in a diffused 200 micron cover with a clear guarantee, and keep the design simple with good ventilation and workable paths. Start with irrigation if time is tight, add staging if you raise plants from seed, and pair with fruit cages or netting to keep pests at bay. If you want tailored advice on size, specification or installation, get in touch for plain-English support and a quote.